
The Stampin' Friends Fabulous Fun Folds & 3D projects blog hop is going to be epic! I love making fun folds--there are so many varieties and then each one can look totally different depending on the papers and decorations used. It's like an endless supply of options! I decided to learn a new fun fold for the hop today, and created this Pop Up & Pull Out card and cut little coordinating treat holder.


I stumbled across this fun fold on Lisa Curcio's site recently and knew it would be the perfect fit for the Day At The Farm DSP pack, free with a $60 order from Stampin' Up! for Saleabration.

I'm not a scrapbooker but there is an amazing piece of 12"x12" scenic paper included in the pack, and I wanted to show how effective it can be used on cards too. Lisa has amazing videos and printed tutorials for creating this fun fold card, so I encourage you to pop there for the details.

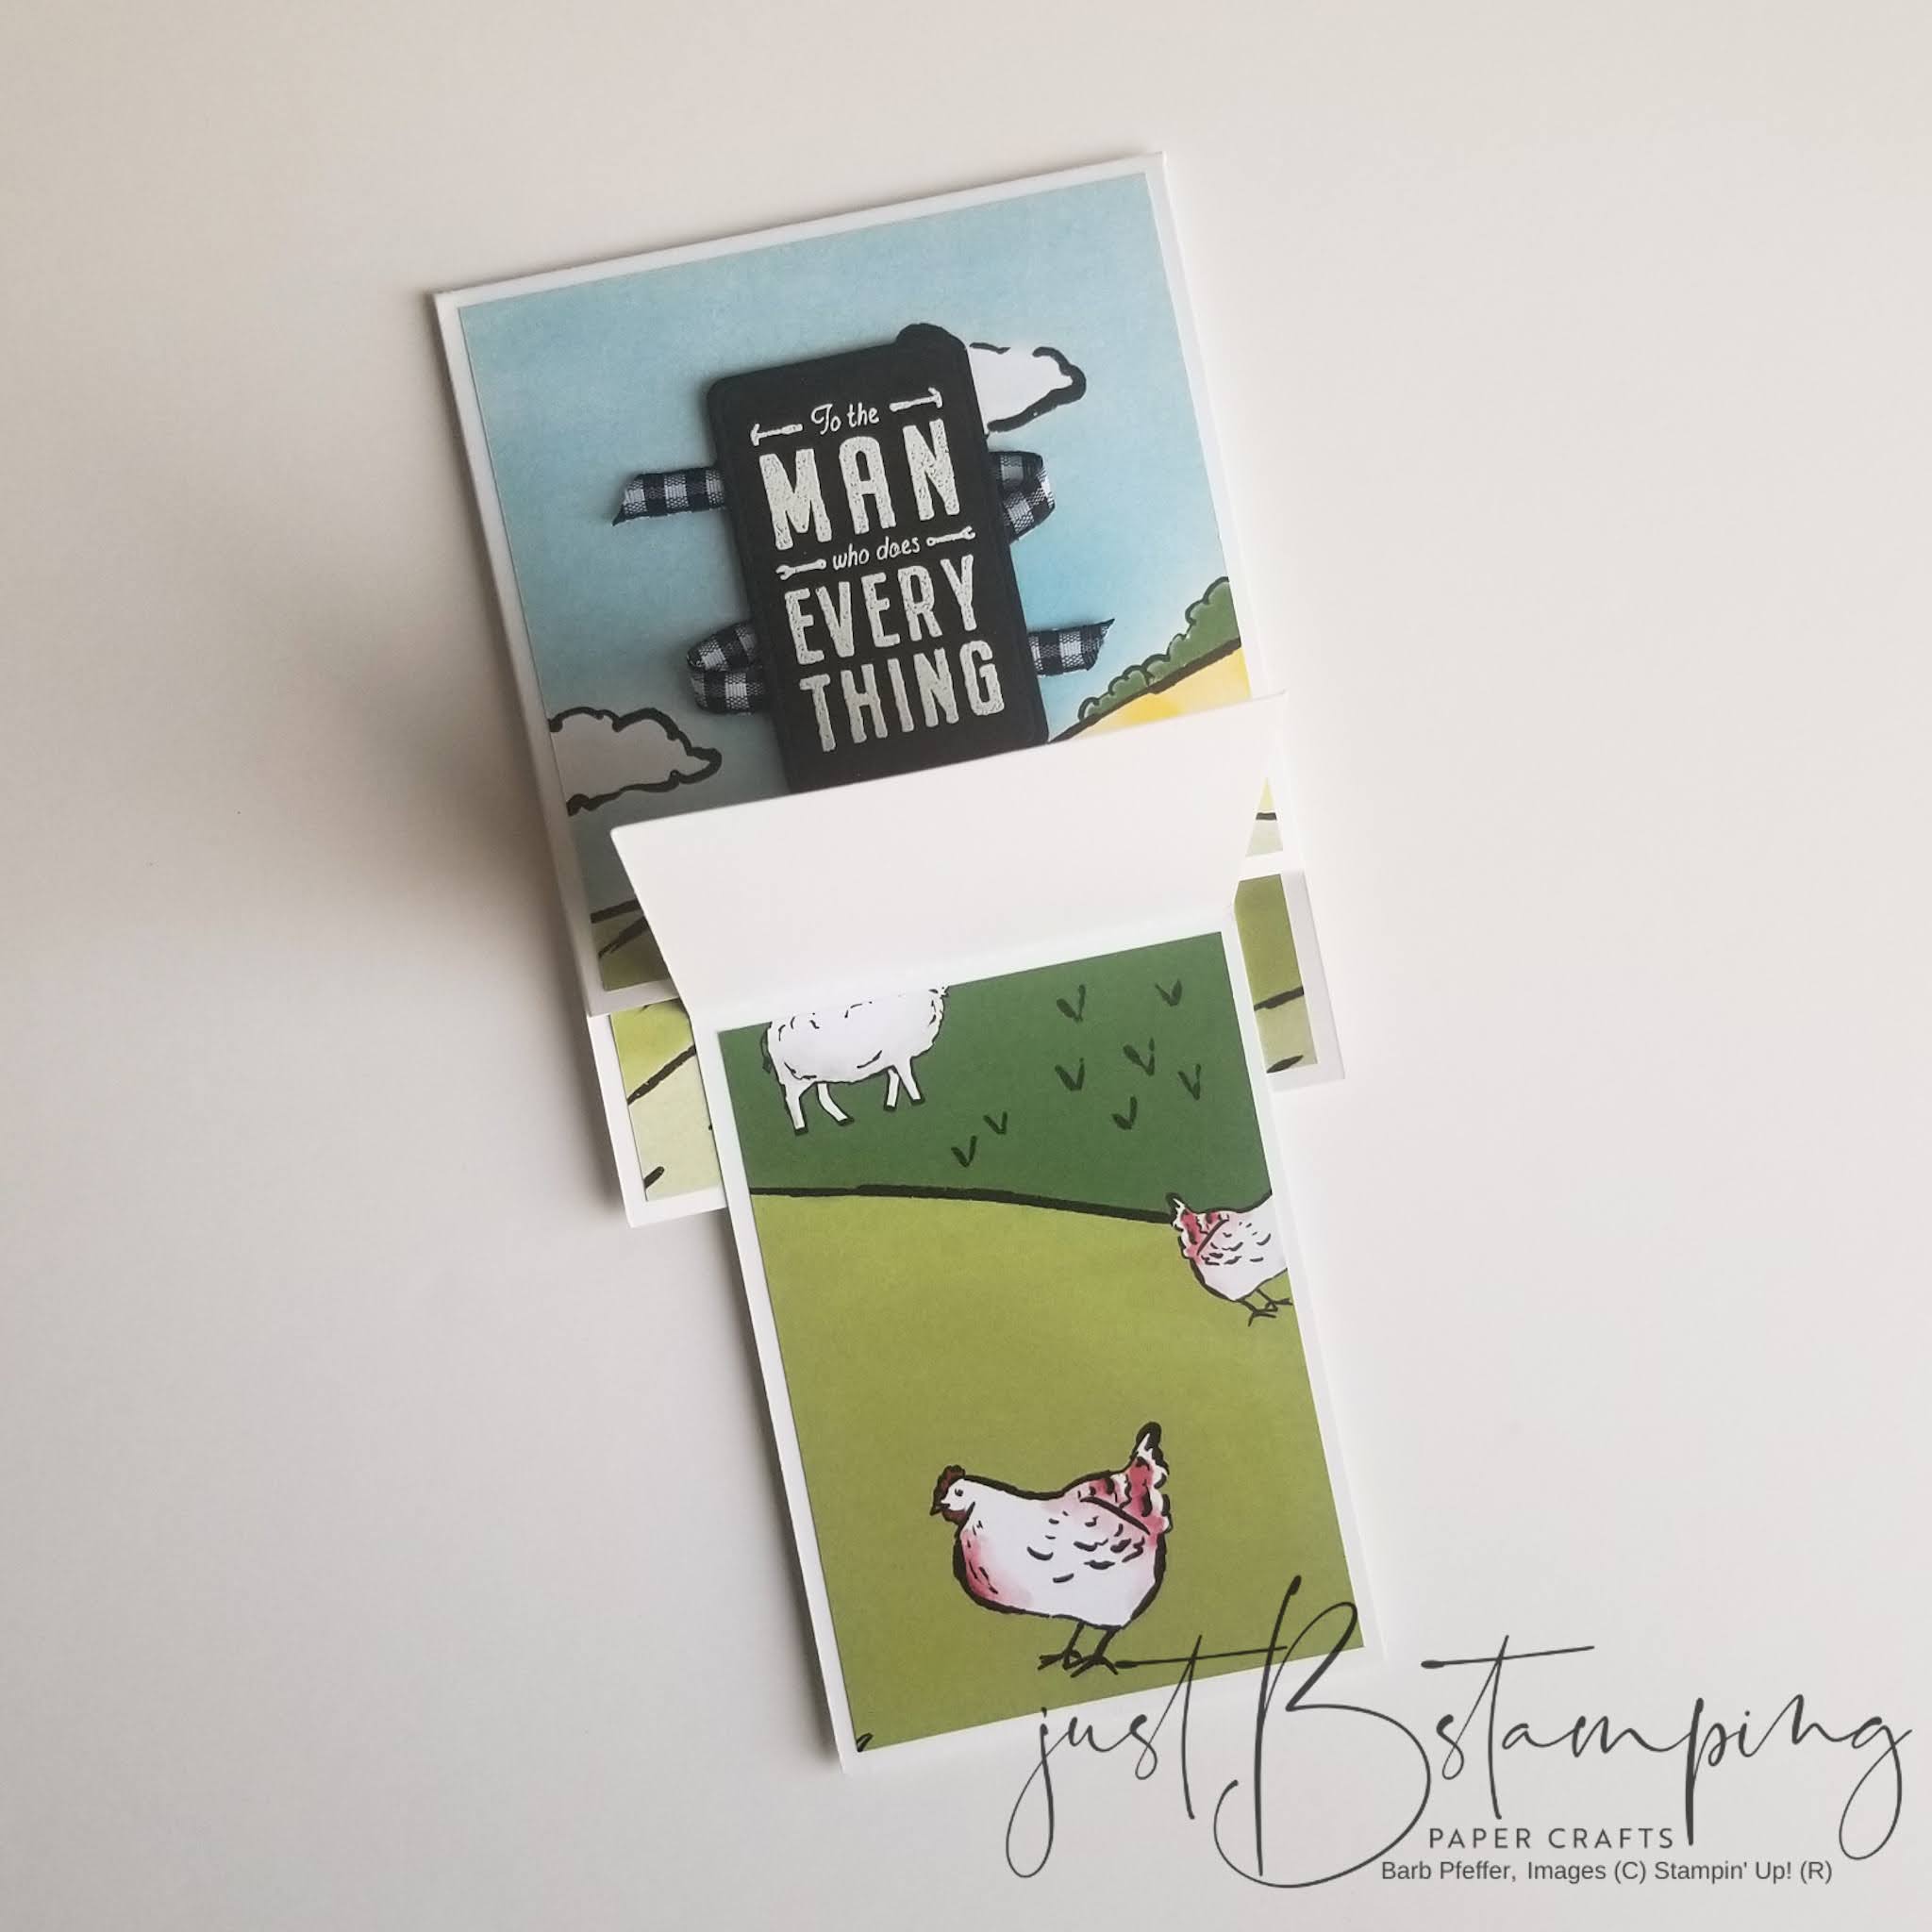
The sentiment is from the He's All That Stamp Set and is perfect for this farm themed project--after all, no one does more than a farmer! I heat embossed the sentiment with White Embossing Powder on Basic Black Cardstock, and then die cut it with the coordinating All That Dies. I wound some gorgeous Black & White Gingham Ribbon behind the sentiment before adding it to my card front with Dimensionals.

Once I had settled on a farm theme I knew I wanted to make a little barn treat box for my 3D project. I found this great template and used it as a jumping off point, with some changes to make my barn open to reveal a treat. I traced the barn base template onto a piece of Real Red Cardstock and cut it out, then embossed it with the Timber 3D Embossing Folder, which I had inked with Early Espresso Ink.

I did change up the roof significantly from the template, and created two pieces: one that forms the box, and a roof piece that attaches to the box. Start with a piece of Early Espresso Cardstock cut to 3" x 3.5". On the long side, score at 1", 1.75", and 2.5"; on the short side score at 0.5" on both sides. Snip the short side from the outside into the middle at each of the score marks, which will allow the paper to bend and follow the shape of the barn.

The inner box is created from a strip of cardstock that is 2" x 9", scored at 0.75", 4", 4", 6", 6.75", 7.5", and 8.5. This forms a three-sided box with the fourth side following the roof shape. I added some Early Espresso Ink shading to the roof for dimension with my Blending Brush. The door is created from 0.25" strips of Basic White Cardstock, and I added some stitching details by hand.

These projects make me feel like Spring, which I hope will be here before we know it! Please be sure to follow along to see what everyone else has for you today too.
Barb
Beautiful projects!
ReplyDeleteSo cute - love, love that little barn - nice job!!
ReplyDeleteSuch adorable projects - super cute barn!!!!
ReplyDelete