MENU

Wednesday 15 April 2020

Grandma's Love (Blog Hop)

Our theme for this month's blog hop was Mother's Day and I knew right away which set I wanted to use--Grandma's House.  Especially right now, where littles everywhere are missing the hugs and kisses of their grandparents!


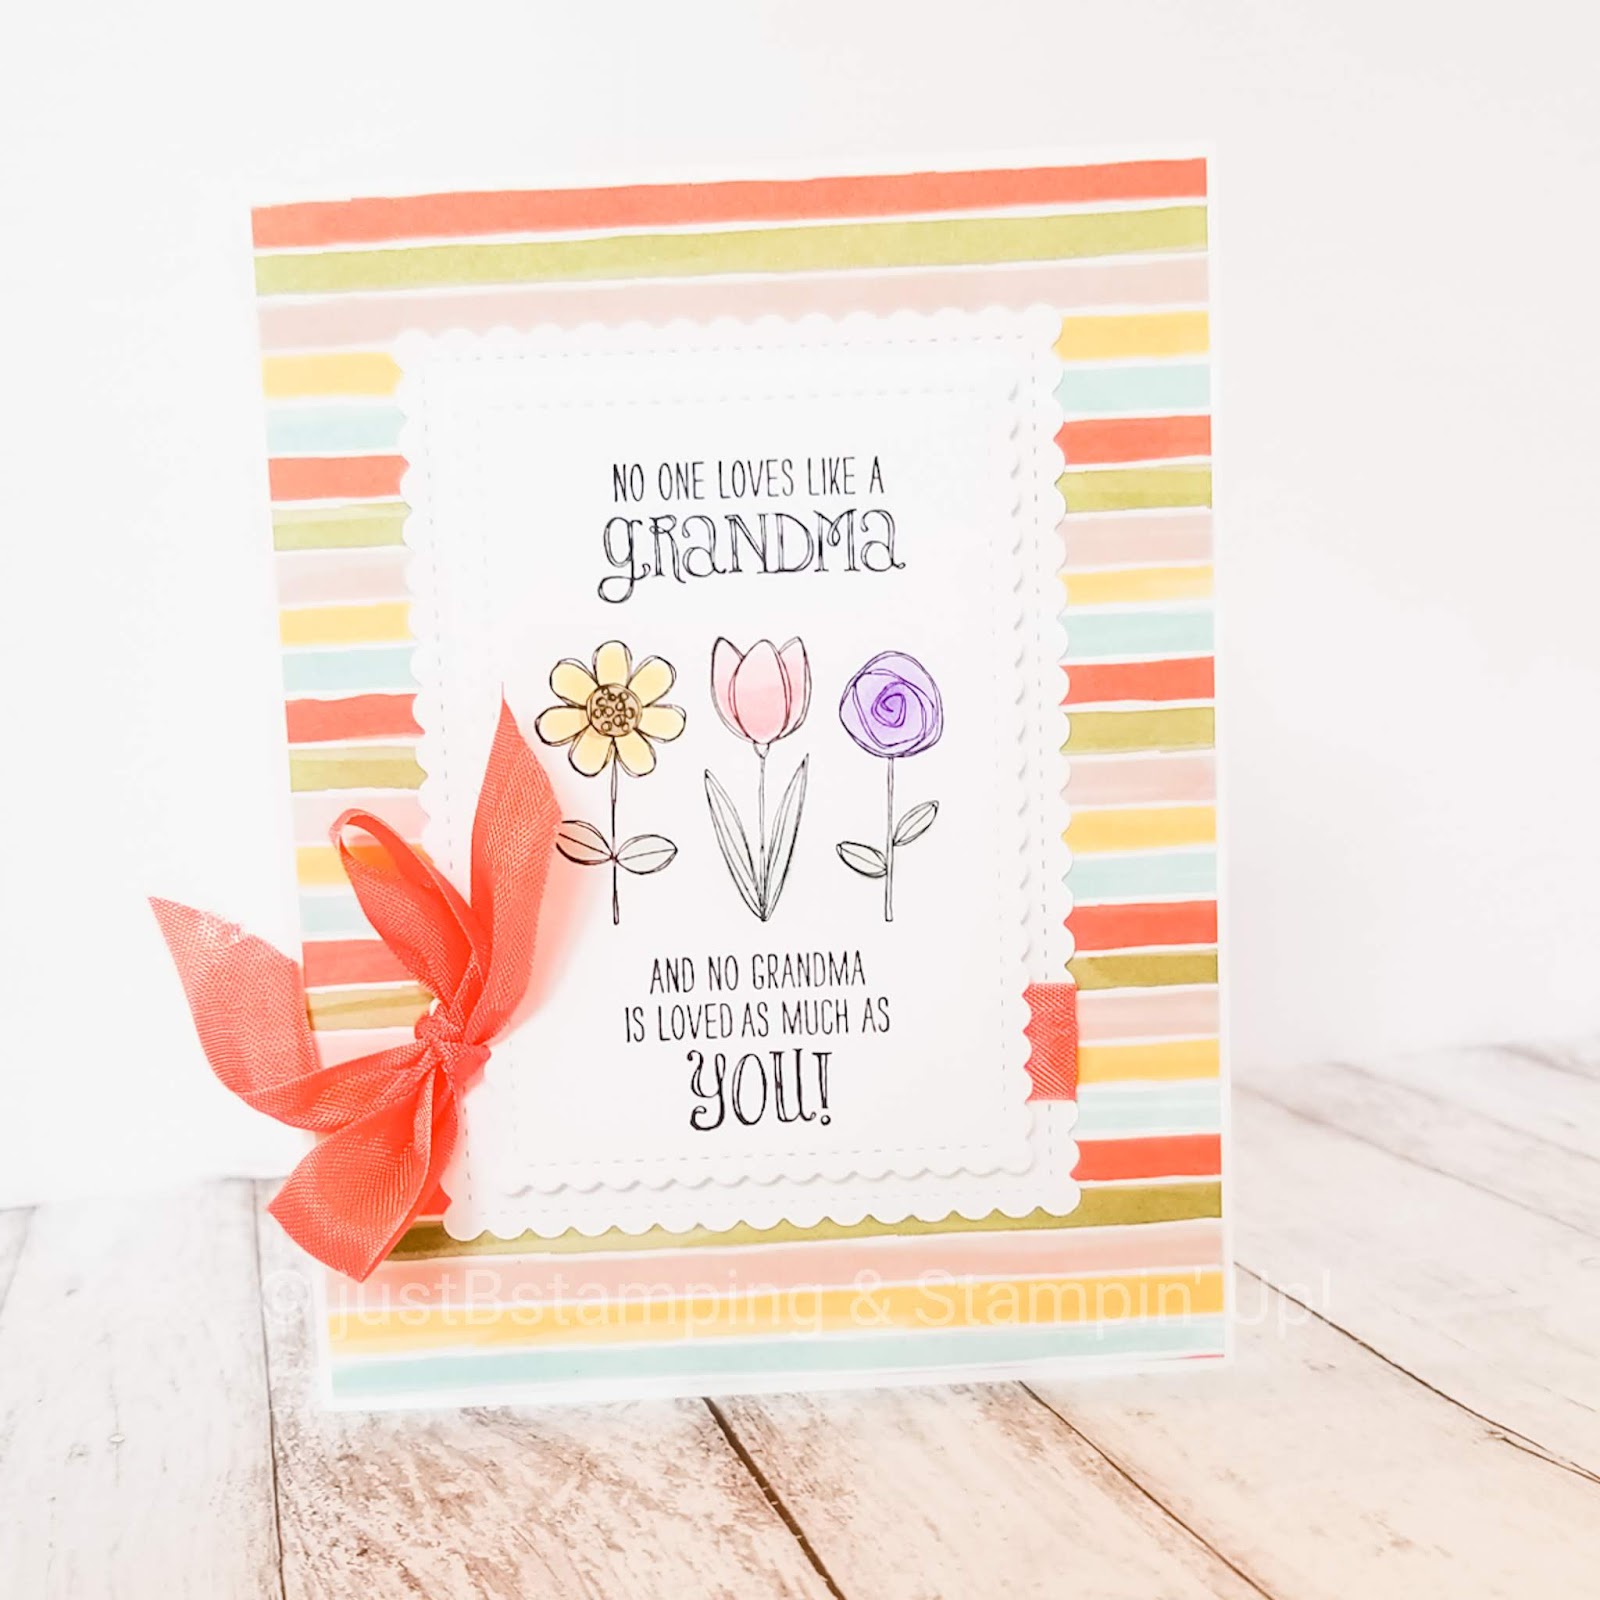
I have been spending my social distancing time watching TONS of technique and fancy fold videos on YouTube.  I have so many great ideas for future classes!!  I couldn't wait to try this Inside Shadow Box card I saw Jennifer McGuire make and knew the images from the Grandma's House stamp set would be perfect.

I used a piece of striped paper from the Bird Balled DSP that had such fun colours for Spring as my jumping off point.  I stamped and coloured the flowers using Blends and perfectly lined up my sentiment using my Stamparatus.  I used the Stitched So Sweetly scalloped rectangles to cut out both my stamped piece and a slightly larger layering piece.


I wrapped a bit of pretty Calypso Coral seam binding ribbon (retired, but you can make your own by colouring the white seam binding with Blends markers) into a bow and adhered to the back on the larger stitched rectangle before layering.


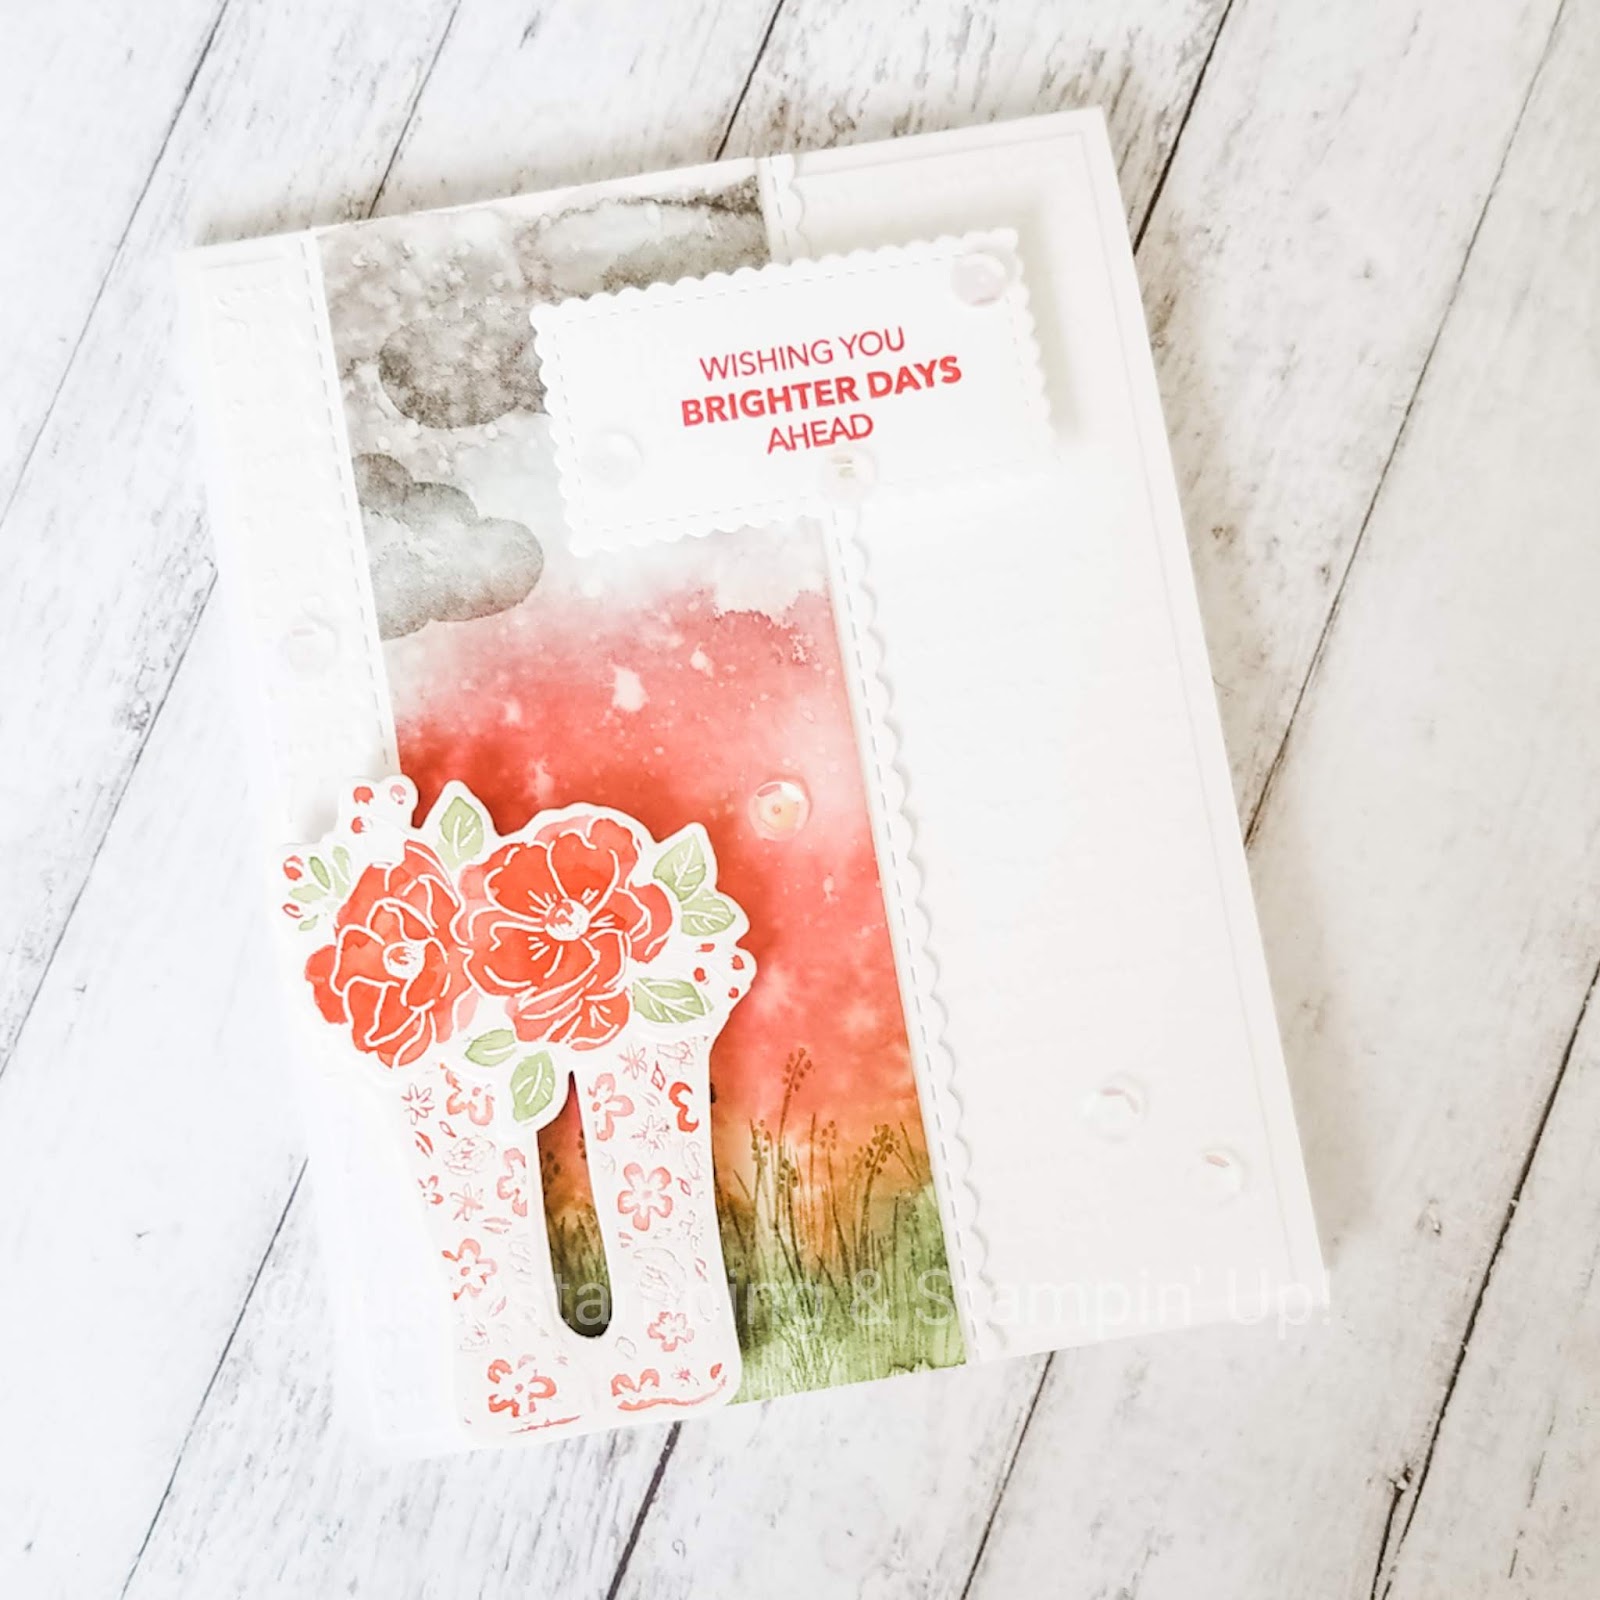
The real surprise is on the inside!  This is where the 3D scene magically forms thanks to some easy but clever scoring.  And the best part is it folds completely flat and is able to fit in a standard envelope for mailing!

Here is how it looks as you start to open the card and the shadow box starts forming...


And here is a view from the top-down, where you can see how the shadow box is completely formed.


I sponged the background with a cloud stencil and Pool Party ink, and then sponged a Granny Apple Green hill and layered it on the bottom. I cut out a stitched rectangle so that you can see through to the back panel, and layered some clouds, trees, and a house from the stamp set that I coloured with Blends and fussy cut.


I love that this design could be used for any occasion--I'm going to do some birthday balloons next!

On the inside I also stamped "Thank goodness for Grandma", because seriously...thank goodness for Grandmas!

I encourage you to try out this card for yourself--it is very easy and has incredible wow factor!


Be sure to hop along and see what everyone else has for you today.

Take care and stay safe!

Barb


JustBStamping (Barb--you're here!)


Sunday 5 April 2020

Wishing You Brighter Days Ahead

I hope you are all safe and well.

This month's paper pumpkin kit could not have included more appropriate sentiments for the current world situation.  I've been doing craft-therapy this weekend, escaping from the news and learning a new watercolouring technique I am excited to share with you.


I LOVE watercolouring and was interested to find this new, simple, and fast method using markers!  The markers of course need to be water-based for the technique to work, but it is super simple and I was able to get backgrounds for 7 different cards in just minutes.  They are all different, and I've included a pic of each at the end of this post, but they are all based on the same techniques outlined here.

To make the background I scribbled (and I mean, scribbled, there was nothing pretty about it!) some ink with my Gray Granite, Poppy Parade, Pear Pizzazz and Granny Apple Green markers onto watercolour paper.  Then I took my aquapainter and applied a LOT of water over each section, making sure the colouring lines disappeared and gently blending the colours together.  Then I sprayed the whole thing with more water and set it aside to dry.  You could also hit it with your heat gun but I found I liked the look of the natural drying better.

While my backgrounds were drying I white embossed two sets of rain boots from the Paper Pumpkin kit, and one set of flowers from the Saleabration Happy Birthday (retired) set.  I coloured each set to match the background using my ink pads and aquapainter.  I fussy cut the boots and used the coordinating die for the flowers, fussy cutting it into two pieces easily.  The second set I used on the inside of my card, here is a close up of that set.


When my background was completely dry I used the paper pumpkin set to stamp clouds (Gray Granite) and grass (Granny Apple Green) onto the panel.  I love how it gives that washed-out background some definition.


I used a thick Whisper White card base and then added a white panel that was dry embossed with the Scripty 3D Embossing Folder on top (hard to photograph but in real life it gives the card tons of texture).  I framed both sides of a strip of the watercolour background with a stitched scallop edge from the Stitched Be Mine die set.  I popped up my matching watercoloured boots and flowers on dimensionals and heat embossed my sentiment in white on a layered strip of Poppy Parade cardstock.

I challenge you all to make and send some cards this week.  We can all use some happy mail these days!  

As promised, here are the other cards I made, all different layouts and different colour combinations.  If you have eagle eyes you'll notice that I added some clear sequins to some of the designs as well.


Stay safe and well, and share the love--it's more important now than ever!

Barb