
I hope you are all safe and well.
This month's paper pumpkin kit could not have included more appropriate sentiments for the current world situation. I've been doing craft-therapy this weekend, escaping from the news and learning a new watercolouring technique I am excited to share with you.

I LOVE watercolouring and was interested to find this new, simple, and fast method using markers! The markers of course need to be water-based for the technique to work, but it is super simple and I was able to get backgrounds for 7 different cards in just minutes. They are all different, and I've included a pic of each at the end of this post, but they are all based on the same techniques outlined here.
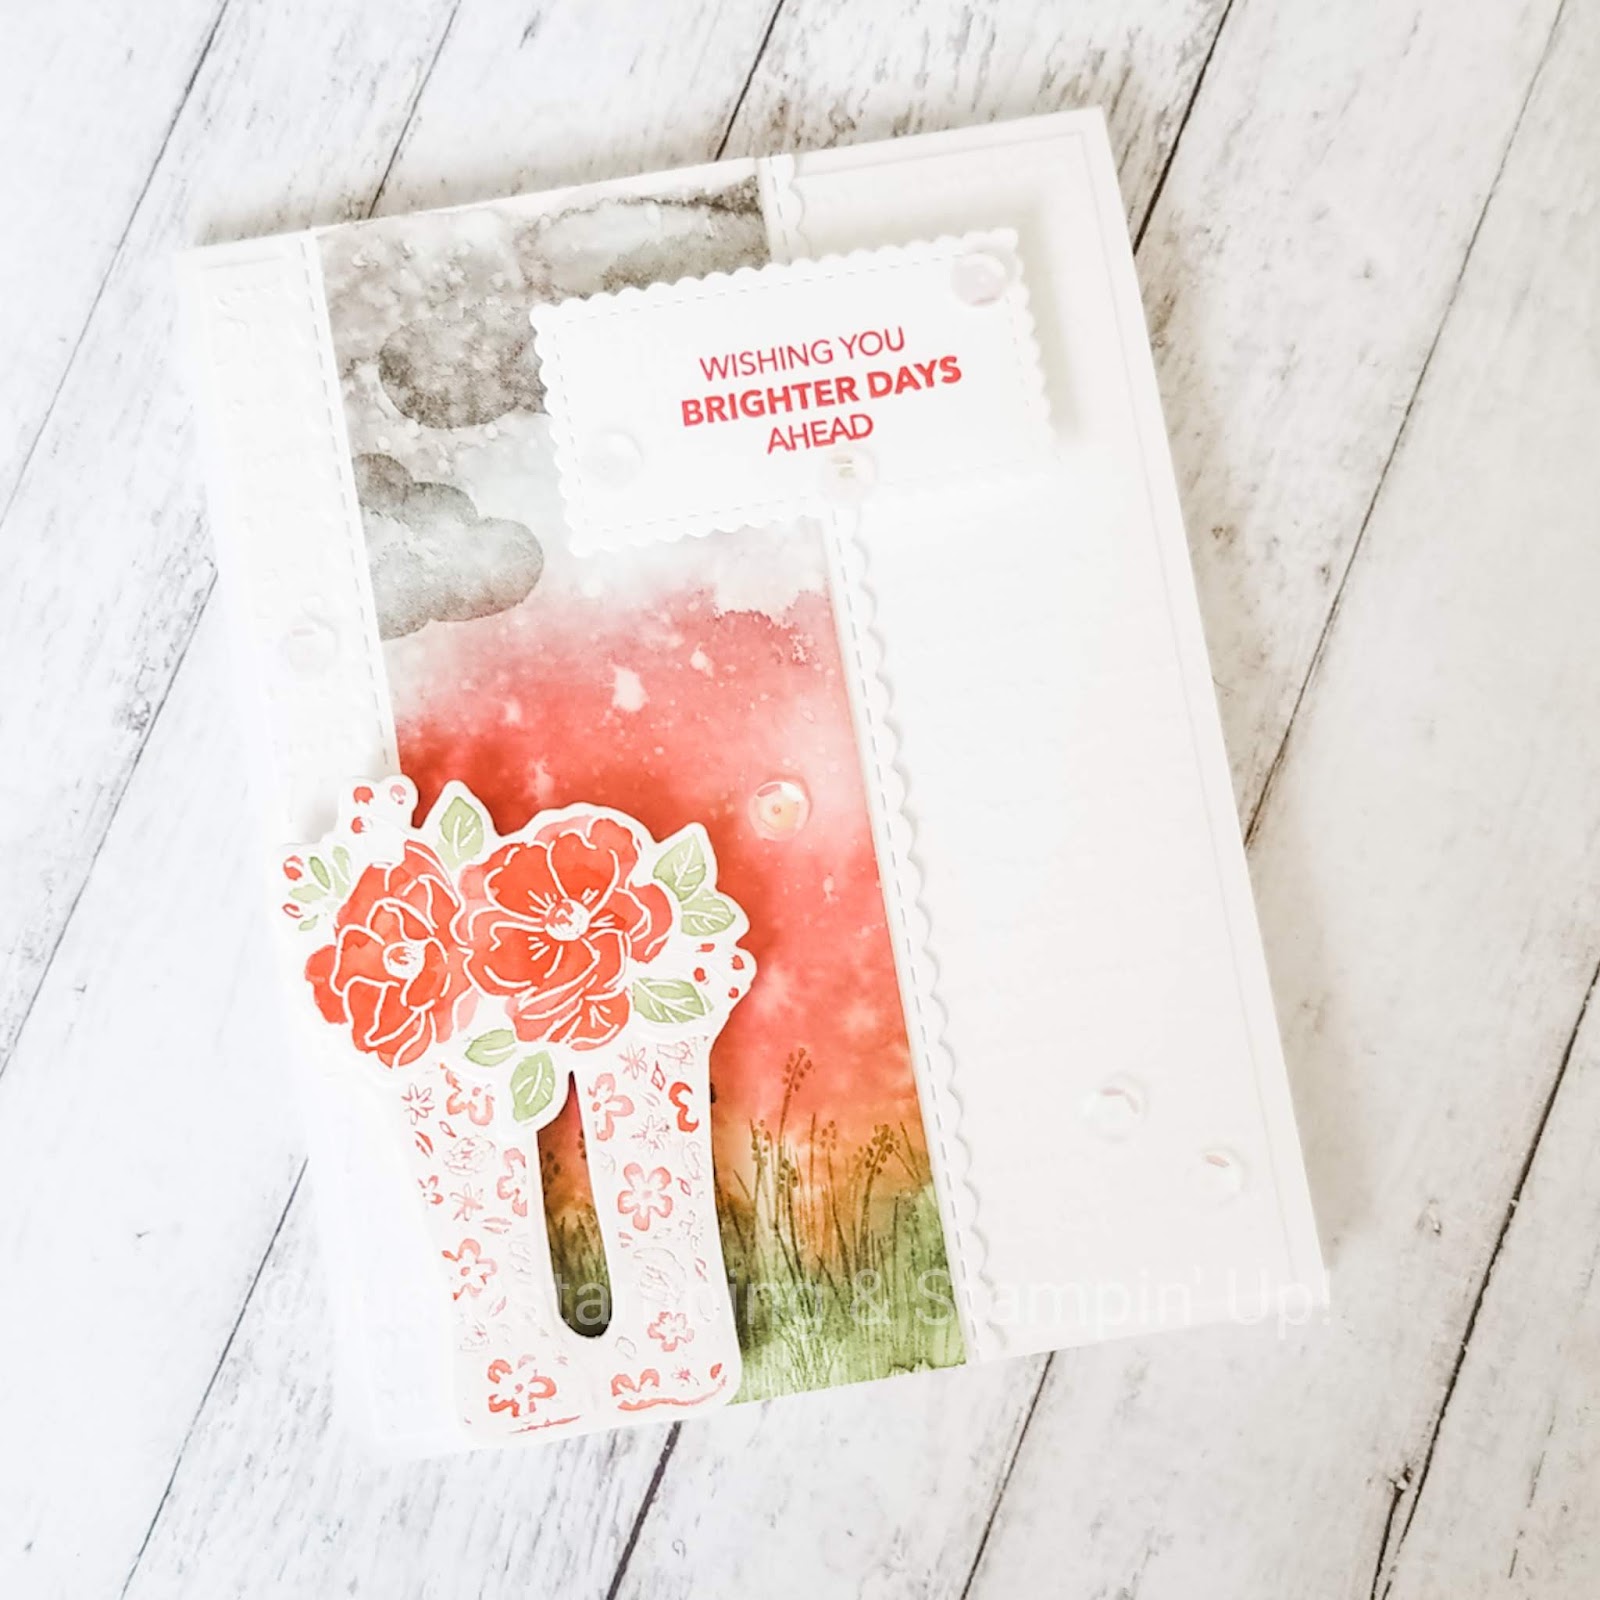
To make the background I scribbled (and I mean, scribbled, there was nothing pretty about it!) some ink with my Gray Granite, Poppy Parade, Pear Pizzazz and Granny Apple Green markers onto watercolour paper. Then I took my aquapainter and applied a LOT of water over each section, making sure the colouring lines disappeared and gently blending the colours together. Then I sprayed the whole thing with more water and set it aside to dry. You could also hit it with your heat gun but I found I liked the look of the natural drying better.

While my backgrounds were drying I white embossed two sets of rain boots from the Paper Pumpkin kit, and one set of flowers from the Saleabration Happy Birthday (retired) set. I coloured each set to match the background using my ink pads and aquapainter. I fussy cut the boots and used the coordinating die for the flowers, fussy cutting it into two pieces easily. The second set I used on the inside of my card, here is a close up of that set.

When my background was completely dry I used the paper pumpkin set to stamp clouds (Gray Granite) and grass (Granny Apple Green) onto the panel. I love how it gives that washed-out background some definition.

I used a thick Whisper White card base and then added a white panel that was dry embossed with the Scripty 3D Embossing Folder on top (hard to photograph but in real life it gives the card tons of texture). I framed both sides of a strip of the watercolour background with a stitched scallop edge from the Stitched Be Mine die set. I popped up my matching watercoloured boots and flowers on dimensionals and heat embossed my sentiment in white on a layered strip of Poppy Parade cardstock.
I challenge you all to make and send some cards this week. We can all use some happy mail these days!
As promised, here are the other cards I made, all different layouts and different colour combinations. If you have eagle eyes you'll notice that I added some clear sequins to some of the designs as well.



Stay safe and well, and share the love--it's more important now than ever!
Barb


